Cloudflare R2 is one of the best places to store build artifacts, static site deployments, and media assets. There are no egress fees — meaning you can download your artifacts as often as you like without paying a cent in bandwidth costs. For teams that push builds frequently, that adds up fast compared to S3 or GCS.
With the R2Drop CLI, you can add Cloudflare R2 uploads to any GitHub Actions workflow in a single step. This guide walks through the complete setup: creating a scoped API token, configuring secrets, writing the workflow YAML, and capturing the upload URL for downstream steps.
Prerequisites
Before you start, make sure you have:
- A Cloudflare account with R2 enabled (you can activate it from the R2 section of the Cloudflare dashboard)
- An R2 bucket already created — for example,
my-build-artifacts - A Cloudflare API token with R2:Edit permission (we'll create this below)
- A GitHub repository with Actions enabled
The R2Drop CLI runs on macOS. For CI environments, use the install script which supports macOS runners. GitHub's macos-latest runners work perfectly out of the box.
Creating a Cloudflare API Token
You should never use your global Cloudflare API key for CI/CD. Instead, create a minimal-permission token scoped only to R2. Here's how.
Step 1: Open API Tokens
Go to dash.cloudflare.com/profile/api-tokens (My Profile → API Tokens). Click Create Token.
Step 2: Start from a custom template
Scroll past the pre-built templates and click Create Custom Token at the bottom. This gives you full control over the scope.
Step 3: Set the permissions
Under Permissions, add one entry:
- Resource type: Account
- Service: Workers R2 Storage
- Permission level: Edit
Under Account Resources, select the specific Cloudflare account that owns your R2 bucket. Avoid selecting “All accounts” — keep the scope as tight as possible.
Step 4: Save and copy the token
Click Continue to Summary, then Create Token. Cloudflare shows the token once — copy it immediately and store it somewhere safe. You'll paste it into GitHub Secrets in the next section.
Cloudflare R2 uses an S3-compatible API. The access key ID and secret access key you need for R2Drop are not the same as the API token itself. To get them, go to your R2 bucket's Settings tab in the Cloudflare dashboard and click Manage R2 API Tokens. Create a token there with Object Read & Write scope. That gives you the Access Key ID and Secret Access Key pair that R2Drop and the S3 SDK use.
Setting Up GitHub Actions Secrets
Navigate to your GitHub repository, then go to Settings → Secrets and variables → Actions → New repository secret. Add the following four secrets:
R2_ACCESS_KEY_ID— Access Key ID from R2 API token pageR2_SECRET_ACCESS_KEY— Secret Access Key from R2 API token pageR2_BUCKET— Your bucket name, e.g.my-build-artifactsR2_ENDPOINT— Your R2 S3 endpoint, e.g.https://<account-id>.r2.cloudflarestorage.com
These secrets are injected as environment variables at runtime. They are never exposed in logs, and they are never visible to pull requests from forks — so they're safe to use in public repositories as long as you keep your workflow scoped to trusted branches.
Full GitHub Actions Workflow
Here's a complete, working workflow that builds a project and uploads the ./dist folder to Cloudflare R2 on every push to main.
name: Build and Deploy to R2

on:
  push:
    branches: [main]

jobs:
  deploy:
    runs-on: macos-latest

    steps:
      - name: Checkout code
        uses: actions/checkout@v4

      - name: Build project
        run: npm ci && npm run build

      - name: Install R2Drop CLI
        run: curl -sf https://r2drop.com/install.sh | sh

      - name: Write R2Drop config
        run: |
          mkdir -p ~/.r2drop
          cat > ~/.r2drop/config.toml <<EOF
          [accounts.ci]
          bucket = "${{ secrets.R2_BUCKET }}"
          endpoint = "${{ secrets.R2_ENDPOINT }}"
          access_key_id = "${{ secrets.R2_ACCESS_KEY_ID }}"
          secret_access_key = "${{ secrets.R2_SECRET_ACCESS_KEY }}"

          [defaults]
          account = "ci"
          EOF

      - name: Upload dist to R2
        id: upload
        run: |
          RESULT=$(r2drop upload ./dist --recursive --account ci --json)
          echo "result=$RESULT" >> "$GITHUB_OUTPUT"
          echo "$RESULT" | jq -r '"Uploaded to: " + .url'

      - name: Print upload URL
        run: echo "Build artifacts live at ${{ fromJSON(steps.upload.outputs.result).url }}"
Using the --json Flag to Capture Upload URLs
The --json flag is the key to making uploads scriptable. When you pass it, r2drop outputs a JSON object instead of human-readable text:
{
  "status": "success",
  "key": "dist/",
  "url": "https://cdn.example.com/dist/",
  "bucket": "my-build-artifacts",
  "files_uploaded": 42,
  "size": 8421376,
  "duration_ms": 3102
}
Alternative: Wrangler for R2 Uploads in CI
Cloudflare's own wrangler CLI also supports R2 uploads via wrangler r2 object put. The main trade-offs compared to R2Drop CLI are:
- Wrangler uploads one object at a time — there's no native recursive folder upload or multipart parallelism built in
- Wrangler is a Node.js package, adding install time and a larger dependency footprint on your runner
- R2Drop CLI is a single static binary — faster to install, no Node.js required
Advanced: Upload Only on Git Tags
For release workflows, you often want to upload artifacts only when you push a version tag — not on every commit. Change the on trigger in your workflow like this:
on:
  push:
    tags:
      - 'v*'
Then you can include the tag name in the upload path to version your artifacts:
- name: Upload release artifact
  run: |
    r2drop upload ./dist \
      --recursive \
      --account ci \
      --key "releases/${{ github.ref_name }}/" \
      --json
Advanced: Parallel Uploads with a Matrix Strategy
If you're building for multiple platforms, you can compile and upload each platform artifact in parallel using a matrix strategy:
jobs:
  build-and-upload:
    runs-on: ${{ matrix.os }}
    strategy:
      matrix:
        include:
          - os: macos-latest
            platform: macos-arm64

    steps:
      - uses: actions/checkout@v4
      - name: Build
        run: cargo build --release
      - name: Install R2Drop CLI
        run: curl -sf https://r2drop.com/install.sh | sh
      - name: Upload binary to R2
        shell: bash
        run: |
          r2drop upload ./target/release/mybinary \
            --account ci \
            --key "releases/${{ github.ref_name }}/mybinary-${{ matrix.platform }}" \
            --json
Each matrix job uploads its platform-specific binary to a distinct key under the same release path. Use the --json flag to capture structured output for downstream steps.
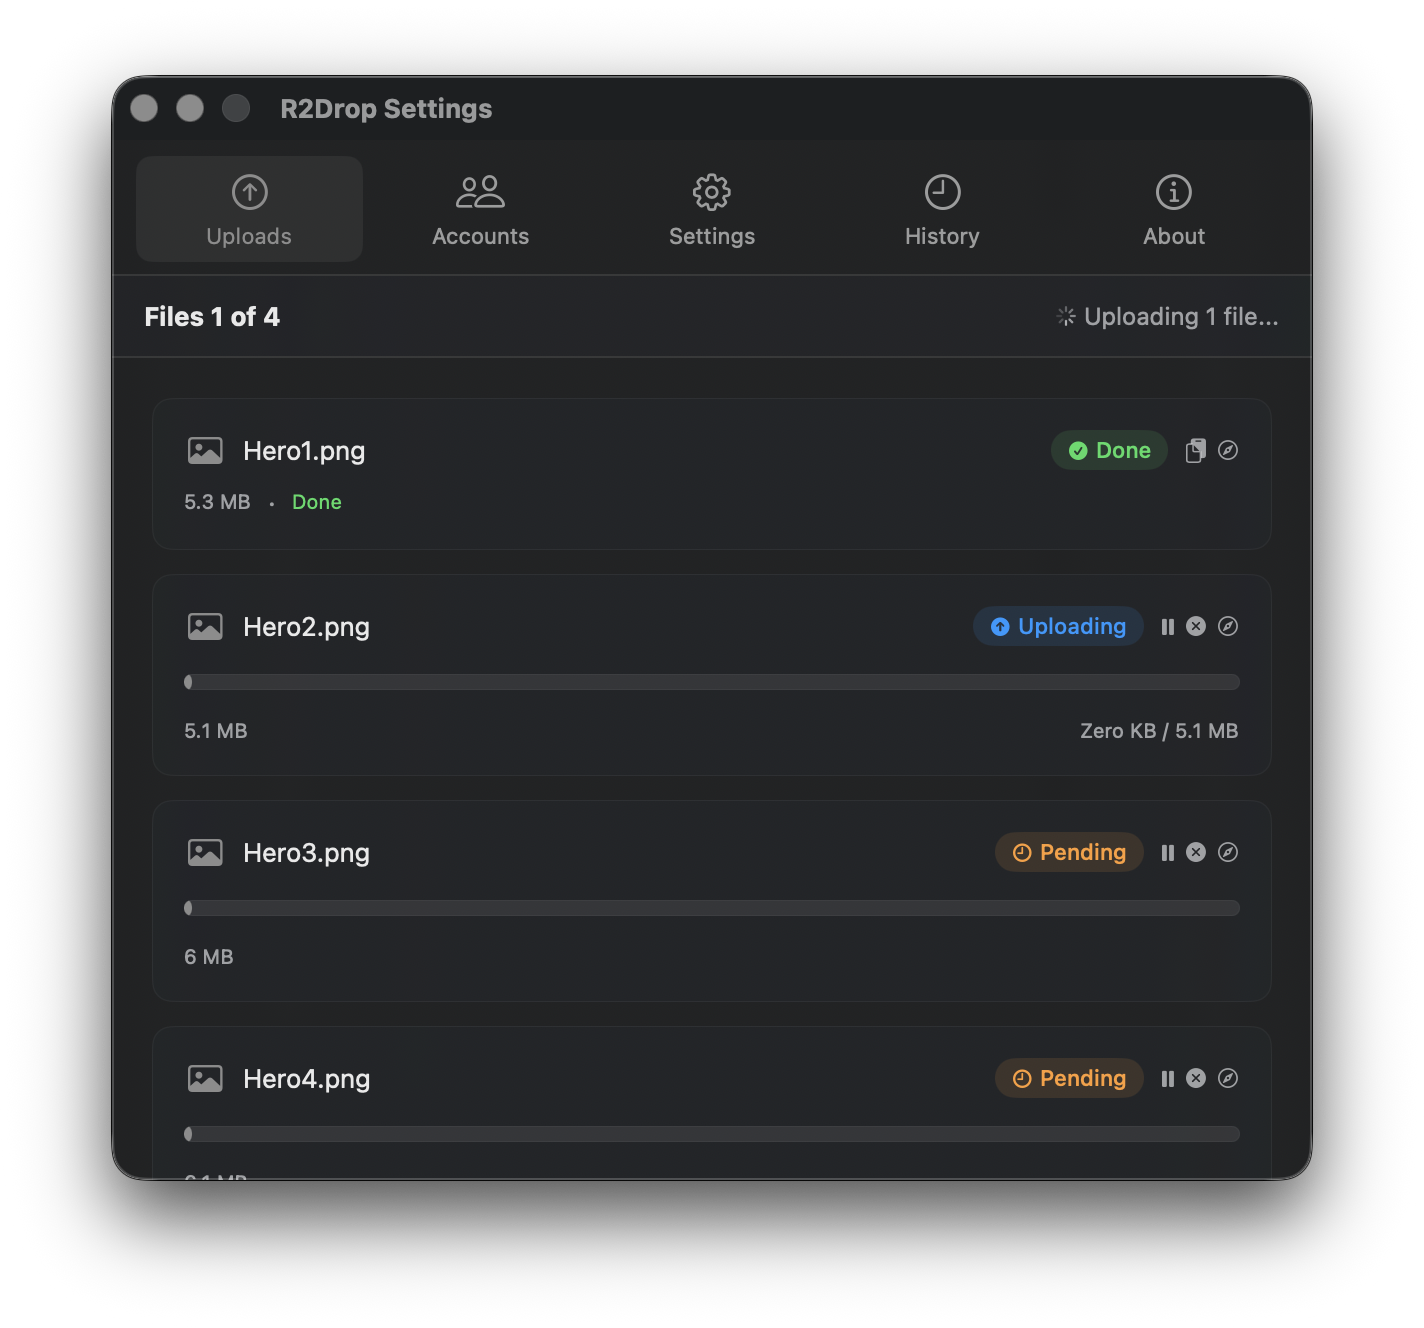
Local Development: Use the R2Drop macOS App
The CLI is designed for headless, automated use. But when you're actively developing — iterating on a build, testing assets, or manually pushing files — the R2Drop macOS app is significantly faster.
Right-click any file or folder in Finder, choose Send to R2, and the upload starts immediately. The public URL is copied to your clipboard automatically when it finishes. It uses the same ~/.r2drop/config.toml as the CLI, so any account you configure in the app is instantly available from the command line — and vice versa.
Think of the macOS app and CLI as complementary tools: the app for fast, interactive uploads during development, and the CLI for automated deploys in CI. Read the full CLI guide for a complete reference of all flags and configuration options.